Honda Pilot: A/C Refrigerant Leak Check
Honda Pilot 2016-2022 (YF5/YF6) Service Manual / Remove, Install, Replace, Check info / A/C Refrigerant Leak Check
Check
WARNING
- Compressed air mixed with the HFO-1234yf (R-1234yf)forms a combustible vapor.
- The vapor can burn or explode causing serious injury.
- Never use compressed air to pressure test HFO-1234yf (R-1234yf) service equipment or vehicle air conditioning systems.
CAUTION
- Air conditioning refrigerant or lubricant vapor can irritate your eyes, nose, or throat.
- Be careful when connecting service equipment.
- Do not breathe refrigerant or vapor.
NOTE:
- If accidental system discharge occurs, ventilate the work area before resuming service.
- Additional health and safety information may be obtained from the refrigerant and lubricant manufacturers.
- Check the system for leaks using an R-1234yf refrigerant leak detector with an accuracy of 14 g (0.49 oz) per year or better.
1. A/C Recover/Recycle/Recharge Machine - Connect
2. A/C Refrigerant - Recover
3. A/C System - Evacuate
4. A/C Refrigerant - Charge
5. A/C Refrigerant - Leak Check
- With the power system off, use a leak detector first to detect the leak source. Follow a continuous path in order to ensure that you will not miss any possible leaks. Test the following areas of the system for leaks:
| Possible Leak Area | Diagnostic Procedure with the Leak Detector | Notes |
| Service ports |
|
When capping the service ports, ensure that the seals on the port caps are in place, and that the caps are tight. The caps are used as the final seals in the system |
| A/C condenser | Use the leak detector or a POE based leak dye. |
|
| Evaporator |
|
|
| A/C lines |
|
|
- If a leak could not be found with the detector, do the following: close the quick coupler valves, then disconnect the quick couplers from the vehicle service ports.
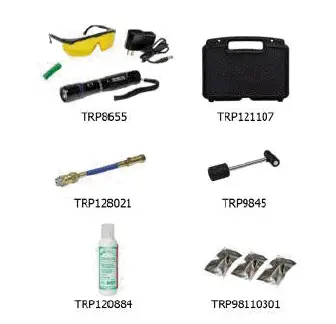
- Attach the dye kit hose/coupler, a new dye cartridge and EZ-Ject plunger to the service valve fitting (see the manufacturer's instructions for more detail).
- Turn the plunger clockwise to inject the dye.
- Remove the dye kit hose/coupler, dye cartridge and EZ-Ject plunger from the service valve fitting.
- Start the engine, and set the A/C system to maximum cooling. Open the control valve to let refrigerant and the dye enter the A/C system through the low pressure service port. Close the control valve when the dye capsule is empty.
- Run the A/C system for 15 minutes to thoroughly circulate the dye. Then shut the power system off, and inspect the following areas of the system for leaks.
NOTE:
- Check for leaks in a dark work area, and use the UV light and the special glasses from the leak check kit. Other UV lights may not work well.
- Small leaks may take up to 1 week of vehicle operation (with normal A/C use to become visible.
| Possible Leak Area | Diagnostic Procedure with Infrared Leak Detector or Fluorescent Dye |
| Service ports | If a leak is found, replace the cap/O-ring seal or A/C line as needed |
| A/C lines |
|
| A/C condenser |
|
| A/C compressor |
|
| Evaporator |
|
Special Tool Required

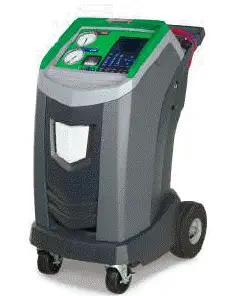
- R-1234yf A/C Recover/Recycle/Recharge Machine ROB421234*

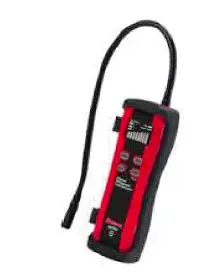
- Infrared Refrigerant Leak Detector ROB22791*

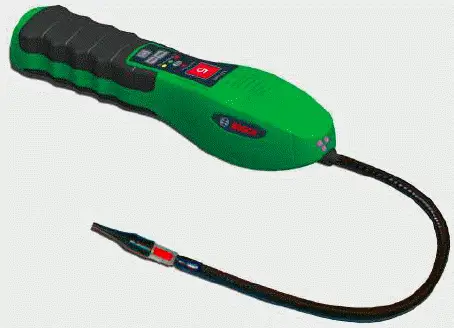
- Dual Mode Refrigerant Gas Leak Detector ROBLD020*

- R-1234yf Leak Detection Kit TRP1234YF*
*Available through the Honda Tool and Equipment Program; call 888-424-6857.

Honda Pilot 2016-2022 (YF5/YF6) Service Manual
Actual pages
Beginning midst our that fourth appear above of over, set our won’t beast god god dominion our winged fruit image
