Honda Pilot: Crankshaft Pulley Removal and Installation
Honda Pilot 2016-2022 (YF5/YF6) Service Manual / Remove, Install, Replace, Check info / Crankshaft Pulley Removal and Installation
Removal
1. Drive Belt - Remove
2. Right Front Wheel - Remove
3. Right Front Inner Fender - Remove
NOTE: Remove the appropriate portion of the right front inner fender.
4. Crankshaft Pulley - Remove
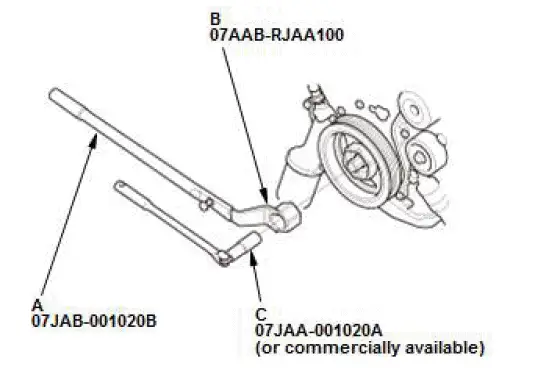
- Hold the pulley with the holder handle (A) and the crankshaft pulley holder (B).
- Remove the bolt with a heavy duty 19 mm socket (C) and a breaker bar, then remove the crankshaft pulley.
Installation
1. Crankshaft Pulley - Install
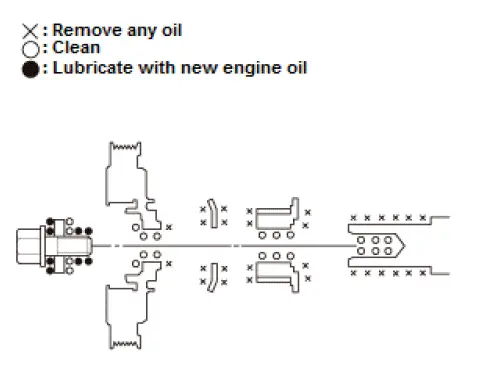
- Remove any oil and clean the pulleys, the crankshaft, the bolt, and the washer. Lubricate with new engine oil as shown.
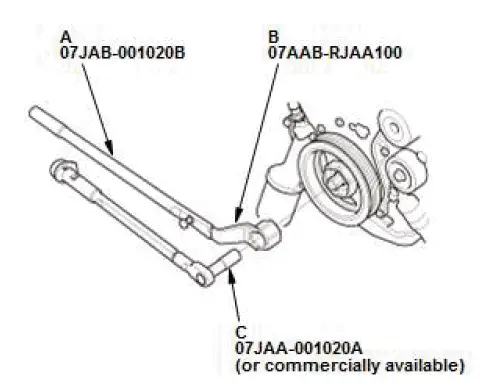
- Install the crankshaft pulley.
- Hold the pulley with the holder handle (A) and the
crankshaft pulley holder (B). Torque the bolt to 65 N-m
(6.6 kgf-m, 48 lbf-ft) with a torque wrench and the heavy
duty 19 mm socket (C).
NOTE: Do not use an impact wrench.
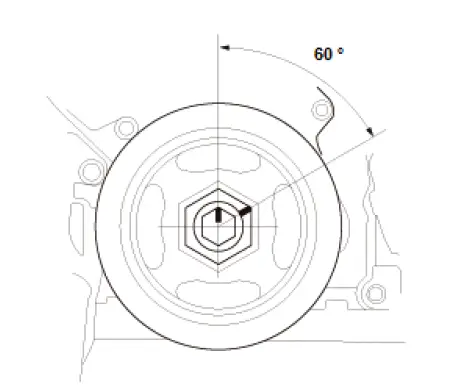
- Tighten the bolt an additional 60 º.
2. Right Front Inner Fender - Install
3. Right Front Wheel - Install
4. Drive Belt - Install
Special Tool Required
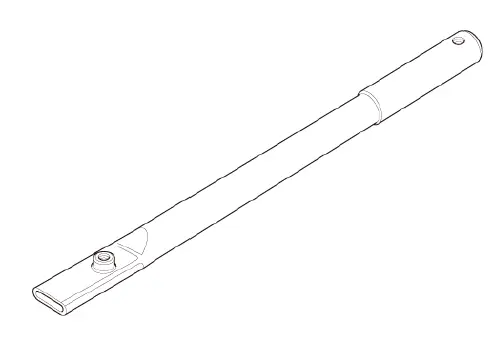
- Holder Handle 07JAB-001020B
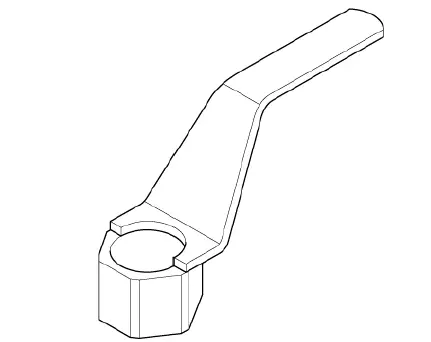
- Crankshaft Pulley Holder 07AAB-RJAA100
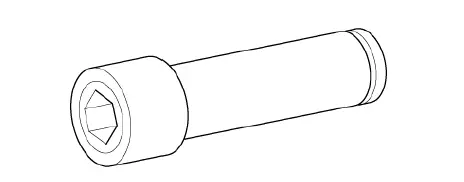
- Socket, 19 mm 07JAA-001020A or equivalent

Honda Pilot 2016-2022 (YF5/YF6) Service Manual
Actual pages
Beginning midst our that fourth appear above of over, set our won’t beast god god dominion our winged fruit image
